I downloaded Desktop VisualizeR a couple weeks ago because the idea of the application seemed great. The description states “Desktop VisualizeR(DVR) makes shortcuts or widgets with the image specified or the icon of another application for the Home screen.” Sounded good. After playing with the settings and trying to figure the app out, I got lost and gave up.
Last night while doing some research for something completely different, I stumbled upon a French site that ended up giving me everything I could ever want to know about it and how to use it. I was in heaven. This HOWTO guide will show you the application and a few websites for you to have at your disposal. Later I will compile another HOWTO guide on using Photoshop to truly customize your own widget icons.
First up is the application. The app uses widgets to create home screen icons. Once the app is installed, long press on your home screen, select ‘widgets’, then find the widget size you are wanting to create.


You have 11 different sized widgets to choose from. Â In the image next to each description is a red box over an Android guy. The red box is to show you the size it will create on your screen. For this simple tutorial I am going to choose a 2X1 sized widget that will look like this one your screen.

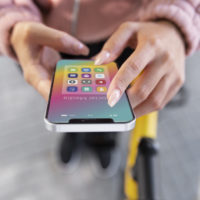
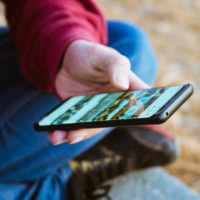
So now you have the widget ready to be set up. You can long press on the widget just like any other widget and drag it to where you want it to go. To set the widget up simply tap on it. Â You are then presented with the set up screen. You can set the widget up in which ever order you want; I start at the top and work my way down. Press ‘Select Icon’ > Image File> Gallery > then the image you want to use. I have downloaded a few different sets from the websites that I will share below the post. Your next step is to set up what the image will launch. Touch ‘Selection Action’ > Launch Application, then go through your app list to select the one you are wanting. In my screen shots you will see I selected a WEB icon, and then for my launcher action set Miren Browser. You add a label if you desire that will appear on the bottom of the widget, choose the label text color and label background color, and finally what color will surround the widget when you tap on it. Once you are all set up hit “OK” and it will be placed on your home screen. You can see what those steps would look like below in the series of screen shots.


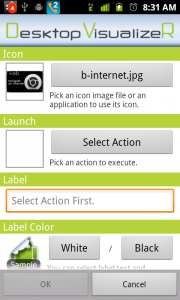

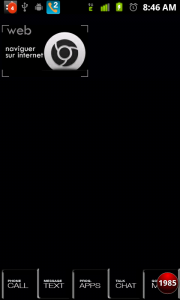
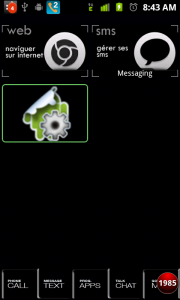
Not too shabby. This is the basic principal of how to use it. Now on to some of the professionals. Take a look at just a few samples of what you could create.

The above image is from themeyoux. You can pick up most of those icons from that same site. Many of the ones you’ll see will also tell you what other on screen widgets they are using. The next image is from the French website I talked about earlier. You can locate it at forum.frandroid. This is where I got the black icons to work with in my little tutorial.

The possibilities are really endless when it comes to ways to set this up. There is no wrong way only your way. Later we will look into how to make your own images and really get crazy. For now, take a look at any of the links below to see some of the things you can do, and spend a little time messing with the application to get a handle on how to use it.
Useful Links [1], [2], [3], [4]
Click or scan the QRCode below to find out more information about the Desktop VisualizeR application.
Summary and Downloads:
Application: Desktop VisualizeR
Developer: Bii, Inc.
Cost:Â FREE
