Hopefully many of you are now fairly familiar with the Desktop VisualizeR (DVR) application. We did a HOWTO on the app and gave a Black & White Icons post already today. Now I thought we should go ahead and show you how to build your own using Photoshop CS5.
This isn’t my own tutorial, all credit goes to gabeevans88 from themeyourx. He did a great job and I wanted to give him kudos and use it. You can actually get the tutorial and some icons from the website.
Step 1
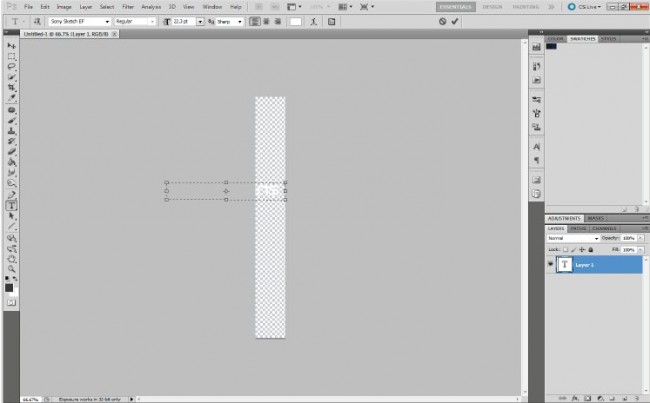
Create a new document in Photoshop CS5 and set the parameters like the image.

Â

Step 3
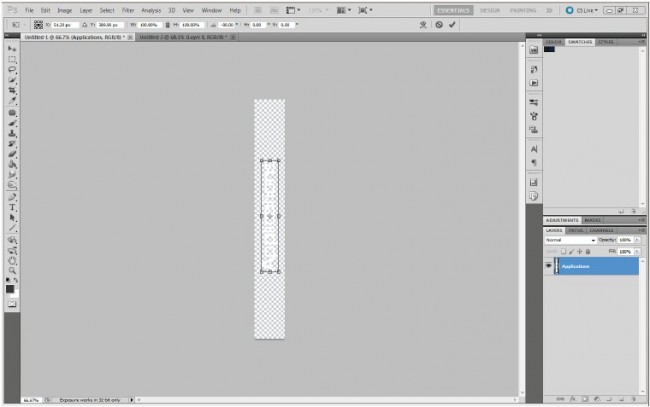
Right click on your layer and click Rastersize Type, then press (Ctrl + T) and right click on your selection and click Rotate 90 Degrees CCW. Then click and drag your file to the center and double click it to set it.

Â
Step 5
Double click the layer named Applications to add a layer style, click Outer Glow and enter these values –

Â
Step 6.
Click OK and if this is what you are satisfied with, save as a PNG File.
That’s it, you are all done. That is a simple vertical text icon you can create. Of course you can add in any photo or text you want. There are other apps you can use to create the same effect, such as GIMP or Jasc Paintshop PRO. Whatever your preference is, as long as the size is the same you shouldn’t have any issues.
You can head on over to themeyourx and pick up the file with the full tutorial and a few icons to use.
Â
Â


