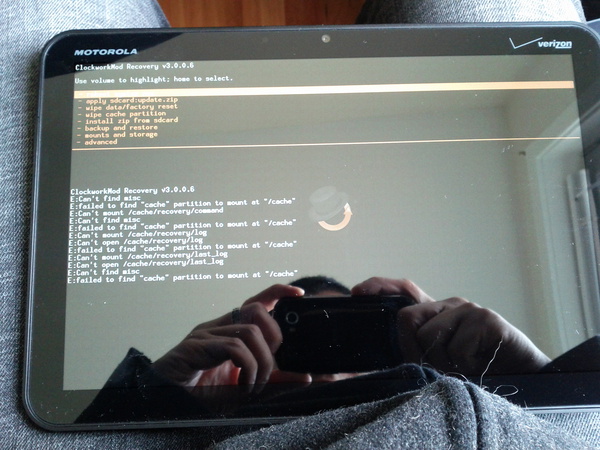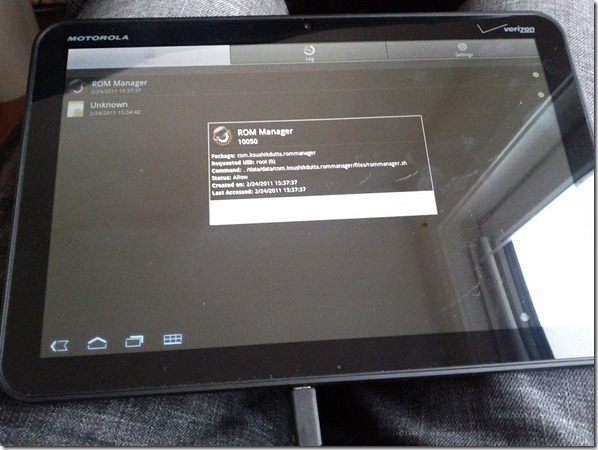
Most people are still trying to figure out the basics of their Motorola Xooms, which just hit stores yesterday. Of course that’s most people.. We all know glory comes the one who hijacks the goodies first. That being said, Koush reported via twitter that he already had Clockwork Recovery up and running on his Xoom after only having it for 2 hours which included the trip to get it. I’m sure developers are just itching to start digging into that wonder Honeycomb goodness. For some the users/devleopers, willing to dig into their Xooms a bit, that’s already possible. Koush has uploaded his method for gaining root, as well as how he had to go about achieving it.

Since it’s another Google experience device, and ships with fastboot support (albeit, limited), it really does come rooted out of the box. Just needed to figure out the board kernel base, and compile up a new kernel.
Unfortunately the kernel was not available in the Android repositories. At first, I tried using the Harmony kernel, since they are both tegra 2 250 chips. That turned out to be major fail. As soon as I was about to give up, I noticed that AOSP had updated their tegra kernel repository with some new tasty branches for stingray. Kudos to these guys for being so on the ball! I was able to compile that up and get a working recovery to obtain root, and then get Superuser on the device.
I also built up a recovery, but due to a nonfunctional SD card slot (until they release a firmware update that enables the slot), nothing really works. That will come later.
Here are the instructions to root your device (this assumes you have adb and fastboot installed on your computer):
- # Download the XOOM root zip.
- # Unzip the package.
- # Put your junk in the box.
- adb reboot bootloader (skip the next 3 steps if you have already unlocked via fastboot)
- fastboot oem unlock
- # wait for reboot
- adb reboot bootloader
- fastboot flash boot rootboot.img
- fastboot reboot
- # wait for reboot
- adb remount
- adb push su /system/bin
- adb shell ln –s /system/bin/su /system/xbin/su
- adb shell chmod 4755 /system/bin/su
- adb push Superuser.apk /system/app
Yep, that should do it.
As I mentioned, I have a working recovery, but will not be releasing it until Google or I get the SD card working.
ROM Manager support will come as soon as that happens. But feel free to buy a Premium copy in advance.
And hit me up on Twitter @koush!
[We do not take responsibility for any damage done to your phone by using these methods. If you’re not sure about it, don’t do it.]
Source: Droid-Life – Koush


